When I’m too tired to do anything else useful, but not quite tired enough to sleep, I sometimes open up an image editing program like GIMP, load up some kind of geometric image, and then smash it to death with filters and other transformations until it either looks more interesting/appealing or so hideous that I give up. Recently I ended up turning the left image below into the one on the right through such a process:
![]()
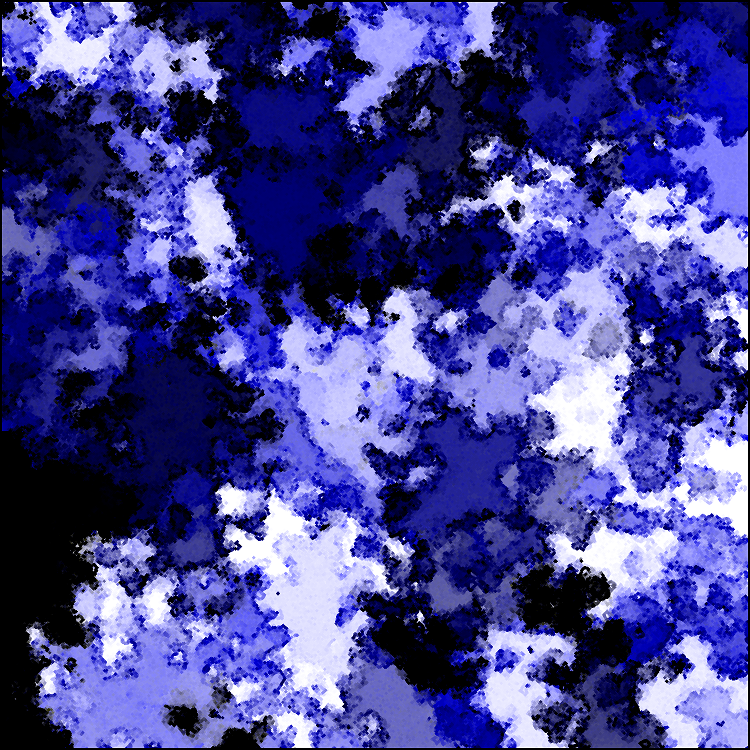
For some reason after that, I suddenly felt that one of these wasn’t enough. I needed infinitely many crunchy looking images like the one on the right. So, I decided to try implementing the GIMP transforms I’d used in Processing and then automating the process. I didn’t get 100% the same effect as I achieved in GIMP but I’m sufficiently satisfied with the endless series of things I did get, which have this kind of look to them:
The code is available here: https://github.com/donya/CreativeCoding/tree/master/TwitchyRectangleArt
Here’s a web version that, although not quite as detailed, lets you generate something similar. It starts with jittery rectangles dancing around on the screen, leaving trails. To stop it and render to something like the above, click on the canvas. Be patient!!! It’s a very intensive process and some browsers are horribly slow about it. Up to 10sec of rendering time doesn’t seem unusual for this in a browser. Sometimes it takes closer to 20sec on the first try and then it works faster thereafter. You can start over to build a fresh image with another click.
And the code for the web version, which unfortunately keeps showing up as an unformatted mess here.
Some Algorithmic Art (Web Version)
Donya Quick
December 2017
Turn the image created by jittery squares into an interesting eroded,
fractal-looking thing. Caution: the rendering into that interesting
image can take a while! Expect a pause for a few seconds, particularly
if you set the canvas size to be large.
How to use:
1. Run it and let the squares fill the space a bit.
2. Click to stop and render a cool image. Be patient!
3. Click again to start over and go back to step 1.
*/
Rectangle[] shapes = new Rectangle[80];
int jitterDist = 10; // for use with oilify function
boolean keepDrawing = true; // flag to detect when to render
// for the edge e
float[][] kernel = {{ -1, -1, -1},
{ -1, 9.2, -1},
{ -1, -1, -1}};
void setup() {
size(500,500); // better to keep it a square or close to it
initialize();
}
void draw() {
if (keepDrawing) {
for (int i =0; i<shapes.length; i++) {
shapes[i].display();
shapes[i].update();
}
}
}
/*
First click stops animation and renders, second click resets, and so on.
*/
void mousePressed() {
if (keepDrawing) {
keepDrawing = false;
postProcessing();
} else {
keepDrawing = true;
initialize();
}
}
void initialize() {
background(0);
jitterDist = width/150;
for (int i =0; i<shapes.length; i++) {
shapes[i] = new Rectangle();
}
}
void postProcessing() {
PImage bg = get();
image(bg,0,0);
// effect processing - these take some time on a large canvas!
oilify(width/150,255,255);
cubism(width/15);
oilify(width/300,200,50);
oilify(width/300,50,50);
edgeDetect();
filter(ERODE); // 1 iteration is ok for web; full version used 3-4
}
/*
Edge detection code from Processing.org modified to use all RGB
fields rather than being grayscale.
*/
void edgeDetect() {
PImage img = get();
PImage edgeImg = createImage(img.width, img.height, RGB);
// Loop through every pixel in the image.
for (int y = 1; y < img.height-1; y++) { // Skip top and bottom edges
for (int x = 1; x < img.width-1; x++) { // Skip left and right edges
float sum = 0; // Kernel sum for this pixel
float sum2 = 0;
float sum3 = 0;
for (int ky = -1; ky <= 1; ky++) {
for (int kx = -1; kx <= 1; kx++) {
// Calculate the adjacent pixel for this kernel point
int pos = (y + ky)*img.width + (x + kx);
// Image is grayscale, red/green/blue are identical
float val = red(img.pixels[pos]);
float val2 = green(img.pixels[pos]);
float val3 = blue(img.pixels[pos]);
// Multiply adjacent pixels based on the kernel values
sum += kernel[ky+1][kx+1] * val;
sum2 += kernel[ky+1][kx+1] * val2;
sum3 += kernel[ky+1][kx+1] * val3;
}
}
// new pixel uses all three color components now
edgeImg.pixels[y*img.width + x] = color(sum, sum2, sum3);
}
}
// State that there are changes to edgeImg.pixels[]
edgeImg.updatePixels();
image(edgeImg, 0, 0); // Draw the new image
}
/*
My attempt at the "oilify" effect in GIMP, but with some added control
over opacity of the blobs. This means you can oilify over something
without fully obscuring what's underneath, and you can have blobs with
visible edges (or faded edges) for an interesting effect.
*/
void oilify(int particleSize, float strokeOpacity, float fillOpacity) {
// note: iterations reduced from width*100 to width*20 for web version
for (int i=0; i<width*20; i = i + particleSize) {
float x = random(jitterDist,width-jitterDist);
float y = random(jitterDist,height-jitterDist);
float xN = random(x-jitterDist,x+jitterDist);
float yN = random(y-jitterDist,y+jitterDist);
color c = get(round(xN),round(yN));
//set(round(x), round(y), c);
stroke(c, strokeOpacity);
strokeWeight(particleSize/2);
fill(c, fillOpacity);
polygon(particleSize*1.5, x, y);
}
}
/*
My attempt at the "cubism" effect in GIMP (which never really looks like
actual cubism, but whatever)
*/
void cubism(int squareSize) {
int xl = ceil(width/squareSize);
int yl = ceil(height/squareSize);
PImage[][] images = new PImage[xl][yl];
for (int x=0; x<xl; x++) {
for (int y=0; y<yl; y++) {
images[x][y] = get(x*squareSize,y*squareSize,squareSize,squareSize);
}
}
for (int x = 0; x<xl; x++) {
for (int y = 0; y<yl; y++) {
fill(255,0,0);
pushMatrix();
float rlim = squareSize/4;
translate(x*squareSize+random(-rlim, rlim), y*squareSize+random(-rlim, rlim));
rotate(random(0,PI/2));
image(images[x][y], -squareSize/2, -squareSize/2);
popMatrix();
}
}
}
/*
Drawing a convex but randomized polygon
*/
void polygon(float radius, float x, float y) {
beginShape();
for (float a = 0; a < TWO_PI; a += random(PI/8, PI/4)) {
float sx = x + cos(a) * radius * random(0.5, 1.5);
float sy = y + sin(a) * radius * random(0.5, 1.5);
vertex(sx, sy);
}
endShape(CLOSE);
}
Jittery rectangle class in shades of blue
Donya Quick
*/
class Rectangle {
float factor = 1.5; // use this to tweak shape size quickly on different canvas
// Blue must always be a higher value
float lightness = random(0,255);
float blue = random(lightness+50,lightness+100);
// Other shape settings
float minCurvature = 5;
float maxCurvature = 50;
float curvature = random(minCurvature,maxCurvature);
float x = 0;
float y = 0;
float minSize = 100;
float maxSize = 150;
float w = 50;
float h = 50;
boolean decay = false;
float opacity = 255;
Rectangle() {
// place the shape randomly on initialization
x = random(0,width);
y = random(0,height);
// in case the screen was a different size we'll redo the shape dimensions
minSize = width/15;
maxSize = width/10;
w = random(minSize,maxSize);
h = random(minSize,maxSize);
}
void display() {
if (w > 0 && h > 0) {
strokeWeight(width/250);
float a = max(0,min(lightness-100, 255));
float b = max(0,min(blue-50, 255));
stroke(a,a,b);
fill(lightness, lightness, blue, opacity);
rect(x,y,w*factor,h*factor, curvature);
}
}
void update() {
// change color slightly
lightness = max(0,min(lightness+random(-4,4),255));
blue = max(lightness+50,min(blue+random(-4,4),lightness+100));
blue = max(0, min(blue,255));
// slightly change shape curvature, size, and location
curvature = max(minCurvature,min(lightness+random(-5,5),maxCurvature));
w = max(minSize,min(w + random(-4,4),maxSize));
h = max(minSize,min(h + random(-4,4),maxSize));
x = max(0,min(x + random(-5,5),width));
y = max(0,min(y + random(-5,5),height));
}
}